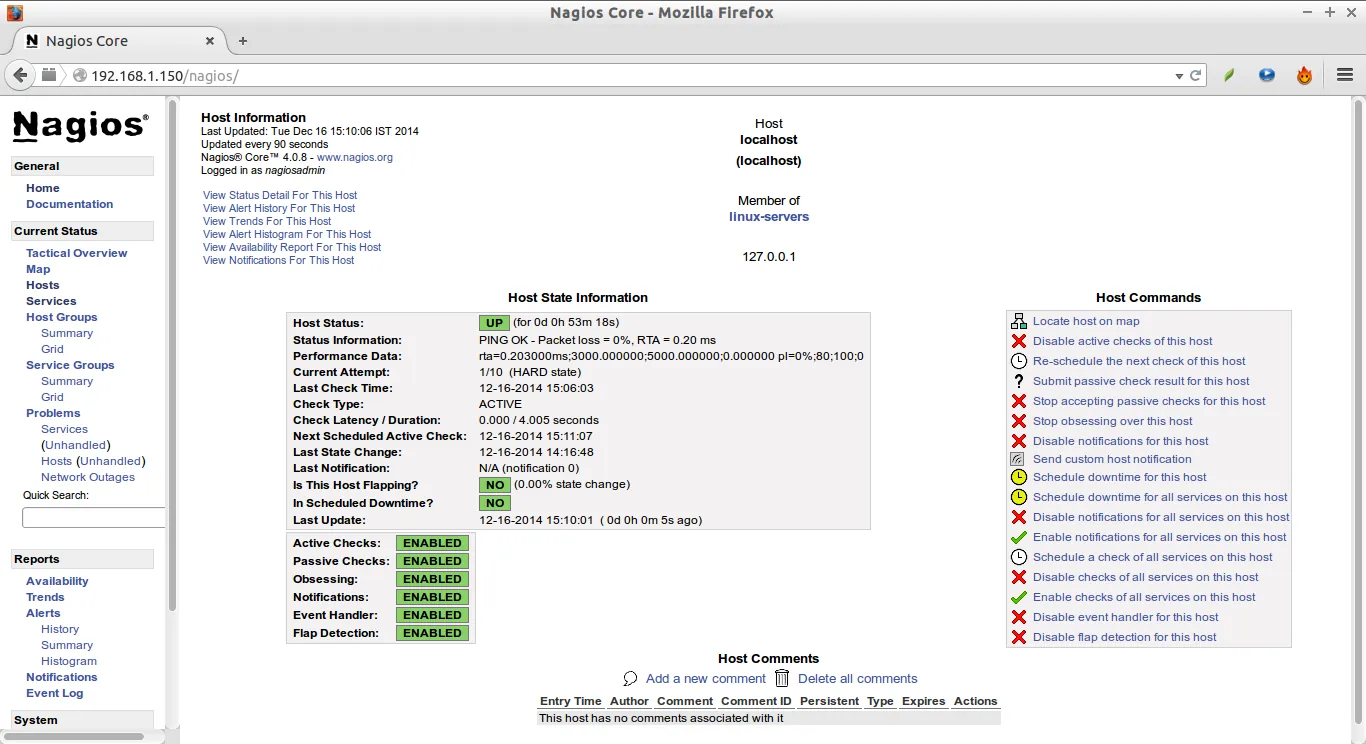
Description #
Nagios monitors every mission-critical infrastructure component — applications, services, operating systems, network protocols, system metrics and network infrastructure. Hundreds of third-party plugins make it possible to monitor practically any internal or external application, service or system.
This AMI ships Nagios 4 and NagiosGraph installed and configured, served by nginx: monitoring and graphs working from the first boot, with nothing to install or tune by hand.
Features #
Some of the most notable features of Nagios:
- End-to-end monitoring.
- Reporting.
- Multi-tenant capability.
- Extensible architecture.
- A stable, reliable and respected platform.
- Customisable code.
What our AMI adds
- AMI based on Ubuntu LTS, always on the latest stable release we can ship.
- Nagios 4 installed and configured from the Ubuntu package (latest stable release).
- NagiosGraph installed and configured from our own
.debpackage (latest stable release). - Tuned with: nginx, PHP and fcgiwrap.
Installation #
Installation follows the normal process of creating an EC2 instance. The recommended instance size is t3.medium.
The security group usually includes the following rules:
| Type | Protocol | Port range | Source |
|---|---|---|---|
| (*) SSH | TCP | 22 | 0.0.0.0/0 |
| Custom TCP rule | TCP | 161–162 | 0.0.0.0/0 |
| (*) HTTP | HTTP | 80 | 0.0.0.0/0 |
| (*) HTTPS | HTTPS | 443 | 0.0.0.0/0 |
| (*) Custom TCP rule | TCP | 5666–5667 | 0.0.0.0/0 |
| Custom TCP rule | TCP | 5693 | 0.0.0.0/0 |
The rules marked with (*) are essential, both to reach the web interface and for normal server operation. Although the example uses 0.0.0.0/0, we recommend restricting access to your own networks or bastion hosts.
Once the instance is running, you can log in with:
- SSH: using the
.pemkey you selected when launching the instance, with theubuntuuser. - HTTP: at
https://ip.of.nagios.instance/nagios4/, with usernagiosadminand, as the password, the ID of the instance you have just created.
Configuration #
SSL configuration with Let's Encrypt
To set up a valid certificate you first need to change the EC2 instance host name so the certificate can be issued. AWS will not issue certificates for the instance’s default name, because those names (and the IPs) are volatile.
Edit /etc/nginx/sites-enabled/nagios4.conf and set your domain name in the server_name entries, making sure you uncomment them. Using nagios4.imaxe.cloud as an example, the configuration looks like this:
server {
    listen 80;
    server_name nagios4.imaxe.cloud;
    return 301 https://$host$request_uri;
}

server {
    listen 443 ssl;

    server_name nagios4.imaxe.cloud;
}
Then restart the service:
service nginx restartThe last step is using certbot to register the certificate and set up its renewal:
certbot --nginx --agree-tos --register-unsafely-without-email -d nagios4.imaxe.cloudAfter running that command you can reach the instance at https://your-domain-name.
Remember to replace the example domain name used here with your own.
Support #
Using our Nagios AMI includes support for:
- AMI installation.
- Initial configuration.
- Additional AMI-related configuration (Let’s Encrypt support, for example).
- Nagios configuration aspects that may be related to the AMI.
- Basic general Nagios support.
- AMI updates and migrations.
Changelog #
AMI history. Dates are the publication date of each version on AWS Marketplace.
Version 4.0
Operating system updated to Ubuntu 24.04.1 LTS Noble with PHP 8.3 and nginx.
Version 3.0
Ubuntu 22.04.1 LTS Jammy Jellyfish with PHP 7.4 and nginx, Nagios from a .deb package and NagiosGraph from our own repository.
.deb package, which makes updates easier.Version 2.1
Full operating system update and a newer NagiosGraph release.
Version 2.0
Operating system and Nagios 4 updated.
Version 1.0
The first release of our AMI, with Nagios and NagiosGraph installed and configured.
Need help with this AMI?
You get an answer from the same team that builds the image — real engineers, no bots, no first-line triage.